How to Blog

How to Write a Blog Post: A Simple Formula to Follow

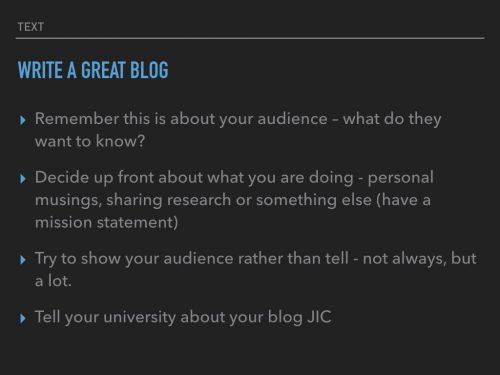
Before you start to write, have a clear understanding of your target audience. What do they want to know about? What will resonate with them?  Consider what you know about your reader personas and their interests while you’re coming up with a topic for your blog post.

For instance, if your readers are millennials, you probably don’t need to provide them with information about getting started in social media — most of them already have that down. You might, however, want to give them information about how to adjust their approach to social media from a more casual, personal one to a more business-savvy, networking-focused approach. That kind of tweak is what separates you from blogging about generic stuff to the stuff your audience really wants (and needs) to hear.

Before you even write anything, you need to pick a topic for your blog post. The topic can be pretty general to start with. For example, if you’re a student of Archaeology, you might start out thinking you want to write about pottery sherds. Then you might come up with a few different working titles — in other words, iterations or different ways of approaching that topic to help you focus your writing.  For example, you might decide to narrow your topic to “Pottery Washing Techniques” or “How to Recognise a Special Find in the bucket.” A working title is specific and will guide your post so you can start writing.

Let’s take a real post as an example: “How to Choose a Solid Topic for Your Next Blog Post.” Appropriate, right? The topic, in this case, was probably simply “blogging.” Then the working title may have been something like, “The Process for Selecting a Blog Post Topic.” And the final title ended up being “How to Choose a Solid Topic for Your Next Blog Post.”

See that evolution from topic, to working title, to final title? Even though the working title may not end up being the final title (more on that in a moment), it still provides enough information so you can focus your blog post on something more specific than a generic, overwhelming topic.

So I suggest that you iterate off old topics to come up with unique and compelling new topics. This can be done by:

  • Changing the topic scope
  • Adjusting the time frame
  • Choosing a new audience
  • Taking a positive/negative approach
  • Introducing a new format

First, grab the reader’s attention. If you lose the reader in the first few paragraphs — or even sentences — of the introduction, they will stop reading even before they’ve given your post a fair shake. You can do this in a number of ways: tell a story or a joke, be empathetic, or grip the reader with an interesting fact or statistic.

Then describe the purpose of the post and explain how it will address a problem the reader may be having. This will give the reader a reason to keep reading and give them a connection to how it will help them improve their work/lives.

Sometimes a good old list is the answer: “Five ways to be comfortable while washing pottery” – avoid backache and a cricked neck by ….

The next step — but not the last — is actually writing the content.

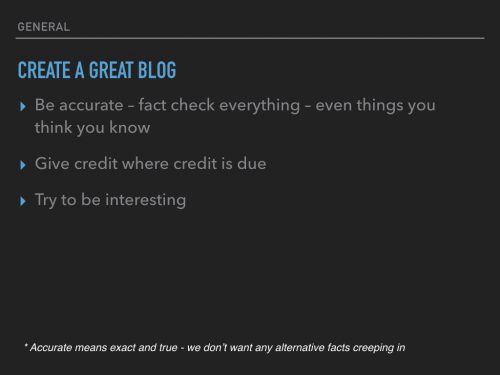
Now that you have your outline/template, you’re ready to fill in the blanks. Use your outline as a guide and be sure to expand on all of your points as needed. Write about what you already know, and if necessary, do additional research to gather more information, examples, and data to back up your points, providing proper attribution when incorporating external sources.

If you find you’re having trouble stringing sentences together, you’re not alone. Finding your “flow” can be really challenging for a lot of folks. Luckily, there are a ton of tools you can lean on to help you improve your writing. Here are a few to get you started:

  • Power Thesaurus: Stuck on a word? Power Thesaurus is a crowdsourced tool that provides users with a ton of alternative word choices from a community of writers.
  • ZenPen: If you’re having trouble staying focused, check out this distraction-free writing tool. ZenPen creates a minimalist “writing zone” that’s designed to help you get words down without having to fuss with formatting right away.
  • Cliché Finder: Feeling like your writing might be coming off a little cheesy? Identify instances where you can be more specific using this handy cliché tool.

For a complete list of tools for improving your writing skills, check out this post. And if you’re looking for more direction, the following resources are chock-full of valuable writing advice:

You’re not quite done yet, but you’re close! The editing process is an important part of blogging — don’t overlook it. Ask a grammar-conscious co-worker to copyedit and proofread your post, and consider enlisting the help of The Ultimate Editing Checklist.

When you’re ready to check your formatting, keep the following advice in mind …

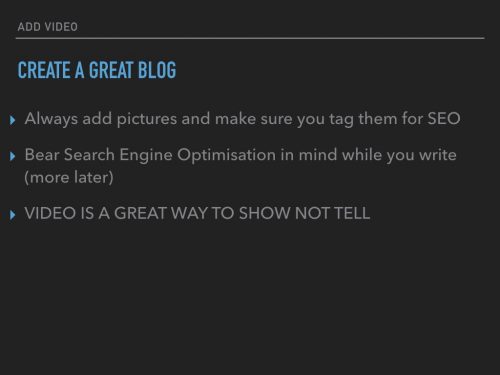
Make sure you choose a visually appealing and relevant image for your post. As social networks treat content with images more prominently, visuals are now more responsible than ever for the success of your blog content in social media. In fact, it’s been shown that content with relevant images receives 94% more views than content without relevant images.

For help selecting an image for your post, read “How to Select the Perfect Image for Your Next Blog Post” — and pay close attention to the section about copyright law.

Last but not least, it’s time to spruce up that working title of yours. Luckily, there is a simple formula for writing catchy titles that will grab the attention of your reader. Here’s what to consider:

  1. Start with your working title.
  2. As you start to edit your title, keep in mind that it’s important to keep the title accurate and clear.
  3. Then, work on making your title sexy — whether it’s through strong language, alliteration, or another literary tactic.
  4. If you can, optimize for SEO by sneaking some keywords in there (only if it’s natural, though!).
  5. Finally, see if you can shorten it at all. No one likes a long, overwhelming title — and remember, Google prefers 65 characters or fewer before it truncates it on its search engine results pages.

HOW TO ADD YOUR BLOG TO THIS WEBSITE

You will be set up as an Author with permission to add and edit your own content. Go to www.telakko.com. Type /wp-admin after the URL and you will see a log in screen. Use your log ins and the go to POSTS>ADD NEW . This means that you are setting up a new post or blog. You will see a page where you should enter your title.

Once you have typed your title into the title bar, scroll down and find the PUBLISH button. Wait for it to refresh. This means that your new post will be registered on the database.

Don’t forget to UPDATE your page so that you don’t lose anything that you’ve put in.

  1. Make sure your picture is no bigger than 500 pixels wide. Edit it before you begin.
  2. Click ADD MEDIA. You will be taken to the Media Library where you can either drag a picture in, or select it and add it to the database.
  3. Give the picture a Title, a caption, Alternative text, and a description in the left hand bar of the media screen.
  4. Click INSERT INTO POST when you are happy.
  5. Adjust the settings if you want to show the caption
  6. Make sure the size of the image is set to ‘full’ or a specified size
  1. Scroll down to the very bottom of the page and click on ADD SELECTED IMAGE
  2. Go back to the Media Library and select the picture that you already added to the database.
  3. Click INSERT INTO POST

This is the picture that will appear on the blog page, whereas the other one will appear within your blog itself. IMPORTANT!

  1. Go to the left hand panel and add your Author Name
  2. Add Keywords
  3. Select a CATEGORY – Student Blog (very, very important)
  4. Select or add TAGS